Making the move to Riyadh for work comes with a mix of excitement and challenges. From finding your new apartment to making sure it feels like home, careful planning can help make your transition smooth and comfortable. In this guide, we’ll walk through what you need to arrange before, during, and after your relocation, with special attention to smart furniture rental solutions for newcomers.
Understanding Riyadh’s Housing Market and Expectations
Before your big move, take some time to learn about Riyadh’s neighborhoods and what each one offers. Professionals often look for housing near their workplace or popular expat areas like Olaya, Al Malaz, or Diplomatic Quarter. Rental agreements in Riyadh usually ask for several months’ worth of rent upfront, so it’s important to budget for this and check your paperwork carefully. Most apartments come unfurnished, which is very different from what you might find in other countries.
Why Renting Furniture Makes Sense in Riyadh
Searching for and buying new furniture in an unfamiliar city can take a lot of time and may not be affordable right away. Many professionals discover that renting furniture is a convenient and flexible option. Furniture rental companies in the city offer packages that include everything from sofas and beds to appliances and decor items, sparing you the hassle of shopping and delivering items yourself. In fact, partnering with a reliable Riyadh furniture rental company can help you quickly set up your apartment without a huge upfront investment or the worry of selling your belongings when you move again.
Packing and Organizing for a Smooth Move
It’s best to start packing well in advance. Write a detailed list of everything you want to bring along and stick to essentials, especially if you are limited in luggage space. Store valuable documents, work equipment, and important personal items in clearly-labeled bags or containers. If your employer has arranged for a moving service, communicate with the movers about what needs extra care and what can be sent with regular shipping.
Getting Settled: Setting up Utilities and Internet
Once you pick your apartment, setting up water, electricity, and internet access will be among your first tasks. Your landlord or building supervisor can let you know which providers to contact. Most utility services are arranged within a week, but it’s wise to book appointments early since there can be delays. Internet providers in Riyadh offer a variety of plans, so compare what’s available and choose according to your needs. Don’t forget to schedule deliveries for any rented or purchased furniture so your home is ready when you arrive.
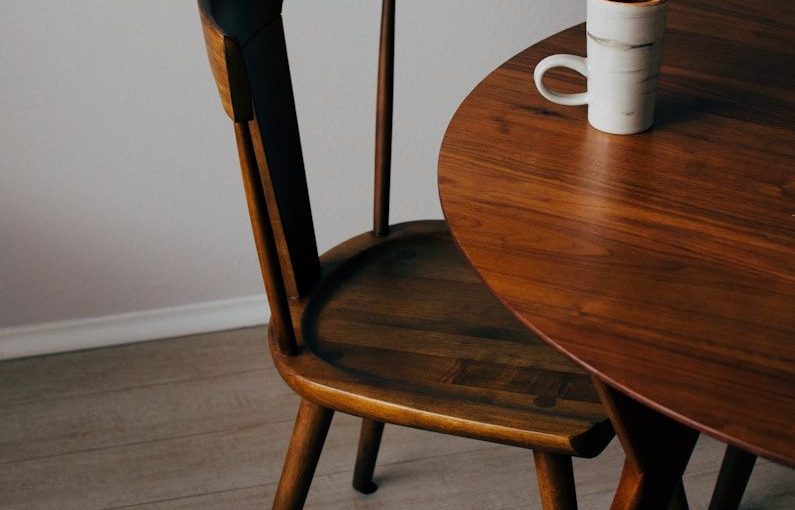
Making Your Space Feel Like Home
Even a temporary home should feel comfortable and welcoming. Choose a few favorite pictures, personal items, or soft furnishings to bring with you. If you’re using furniture rental, you’ll find options to customize your package to suit your preferences, so your space feels more like your own. Add small touches like lamps, cushions, or plants to make your apartment warm and inviting – even for a short stay.
Navigating Local Customs and Building Relationships
As you settle into life in Riyadh, learning about local culture can help you adapt quickly. Greeting neighbors and colleagues with respect, dressing appropriately, and getting familiar with daily customs will go a long way toward making a good impression. Most residential buildings have rules about noise, visitors, and communal spaces. It’s helpful to ask your property manager or fellow residents for advice when in doubt.
Reviewing and Updating Your Checklist
Keeping a checklist can help you stay organized during your move. Review your list regularly as your moving date gets closer. Make sure you’ve arranged all paperwork, transportation, and furniture needs. Double-check details like your move-in date, utility activation, and internet setup so you can avoid surprises on arrival.
Planning for Returning or Upgrading
Moving for work can be a temporary or long-term journey. If your job in Riyadh is short-term, furniture rental is often the easiest solution, since you won’t need to worry about shipping furniture out when your contract ends. However, if you decide to stay longer, some rental companies offer easy furniture upgrades or even the option to buy the pieces you love.
A Comfortable Start in Riyadh
A successful move is all about planning ahead and being flexible. With a little research and a sensible approach, professionals can feel at home in Riyadh in no time. Whether you’re here for a few months or a few years, using services like furniture rental can save you time and stress, letting you focus on your new career opportunity and enjoy your new surroundings.